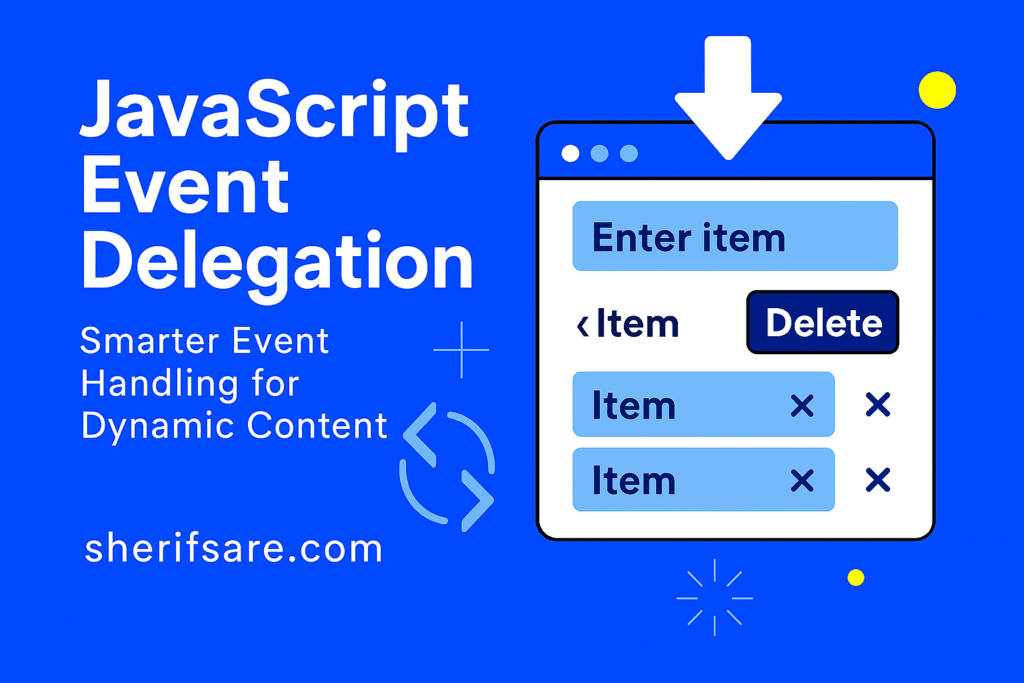
JavaScript Event Delegation
As your web apps grow, so do the number of interactive elements (buttons, links, inputs, and more). Attaching individual event listeners to each element can become inefficient and error-prone, especially when elements are added dynamically.
Event delegation solves this by letting you handle events at a higher level, even for elements that don’t exist yet.
In this post, we’ll explore:
- What event delegation is and why it matters
- How the DOM event bubbling system works
- How to implement delegation with
addEventListener - Real-world examples like dynamic lists and menus
- Performance and maintainability benefits
What Is Event Delegation?
Event delegation is a technique where you attach a single event listener to a parent element, and use it to handle events for child elements, even if they’re added later.
Instead of doing this:
document.querySelectorAll(".delete-btn").forEach(btn => {
  btn.addEventListener("click", () => {
    btn.parentElement.remove();
  });
});
You do this:
document.getElementById("list").addEventListener("click", event => {
  if (event.target.classList.contains("delete-btn")) {
    event.target.parentElement.remove();
  }
});
How Event Bubbling Works
When you click an element, the event travels:
- Down the DOM tree (capture phase)
- Hits the target
- Bubbles up to ancestors
This bubbling allows parent elements to “catch” events from their children.
document.body.addEventListener("click", event => {
  console.log("Clicked:", event.target.tagName);
});
Even if you click a <button>, the body listener still runs.
Implementing Event Delegation
Let’s say you have a list of tasks:
<ul id="taskList">
  <li>Task 1 <button class="delete-btn">Delete</button></li>
  <li>Task 2 <button class="delete-btn">Delete</button></li>
</ul>
Instead of adding listeners to each button:
document.getElementById("taskList").addEventListener("click", event => {
  if (event.target.matches(".delete-btn")) {
    event.target.parentElement.remove();
  }
});
- matches(): Checks if the clicked element matches a selector
- event.target: The actual element clicked
Try It Yourself
Build a dynamic comment section:
- Input field and “Add Comment” button
- Comments appear in a list with “Delete” buttons
- Use event delegation to handle deletes
Bonus: Add “Edit” buttons and handle both actions with a single listener.
Benefits of Event Delegation
| Benefit | Description |
|---|---|
| Performance | Fewer listeners = faster rendering and less memory usage |
| Dynamic compatibility | Works with elements added after page load |
| Cleaner code | Centralized logic instead of scattered listeners |
| Easier maintenance | One listener to update, debug, or remove |
Common Pitfalls
- event.target vs event.currentTarget:
event.target: The actual clicked elementevent.currentTarget: The element the listener is attached to
- Nested elements:
- If a button contains a span, clicking the span still triggers the button’s logic — use
closest()to find the right ancestor.
- If a button contains a span, clicking the span still triggers the button’s logic — use
const btn = event.target.closest(".delete-btn");
if (btn) {
  btn.parentElement.remove();
}
- Stopping propagation:
- Use
event.stopPropagation()if you want to prevent bubbling.
- Use
Real-World Use Cases
- Menus: Handle clicks on dropdown items
- Tables: Edit/delete rows with one listener on
<tbody> - Forms: Validate inputs dynamically
- Games: Handle clicks on moving or generated elements
Final Thoughts
Event delegation is a powerful pattern that makes your code more efficient, scalable, and maintainable. It’s especially useful when working with dynamic contents like lists, menus, or components that change over time.
In the next post, we’ll explore Building a To-Do App with JavaScript — combining everything you’ve learned so far into a real project.